The Splice Is Decided Before the Arc
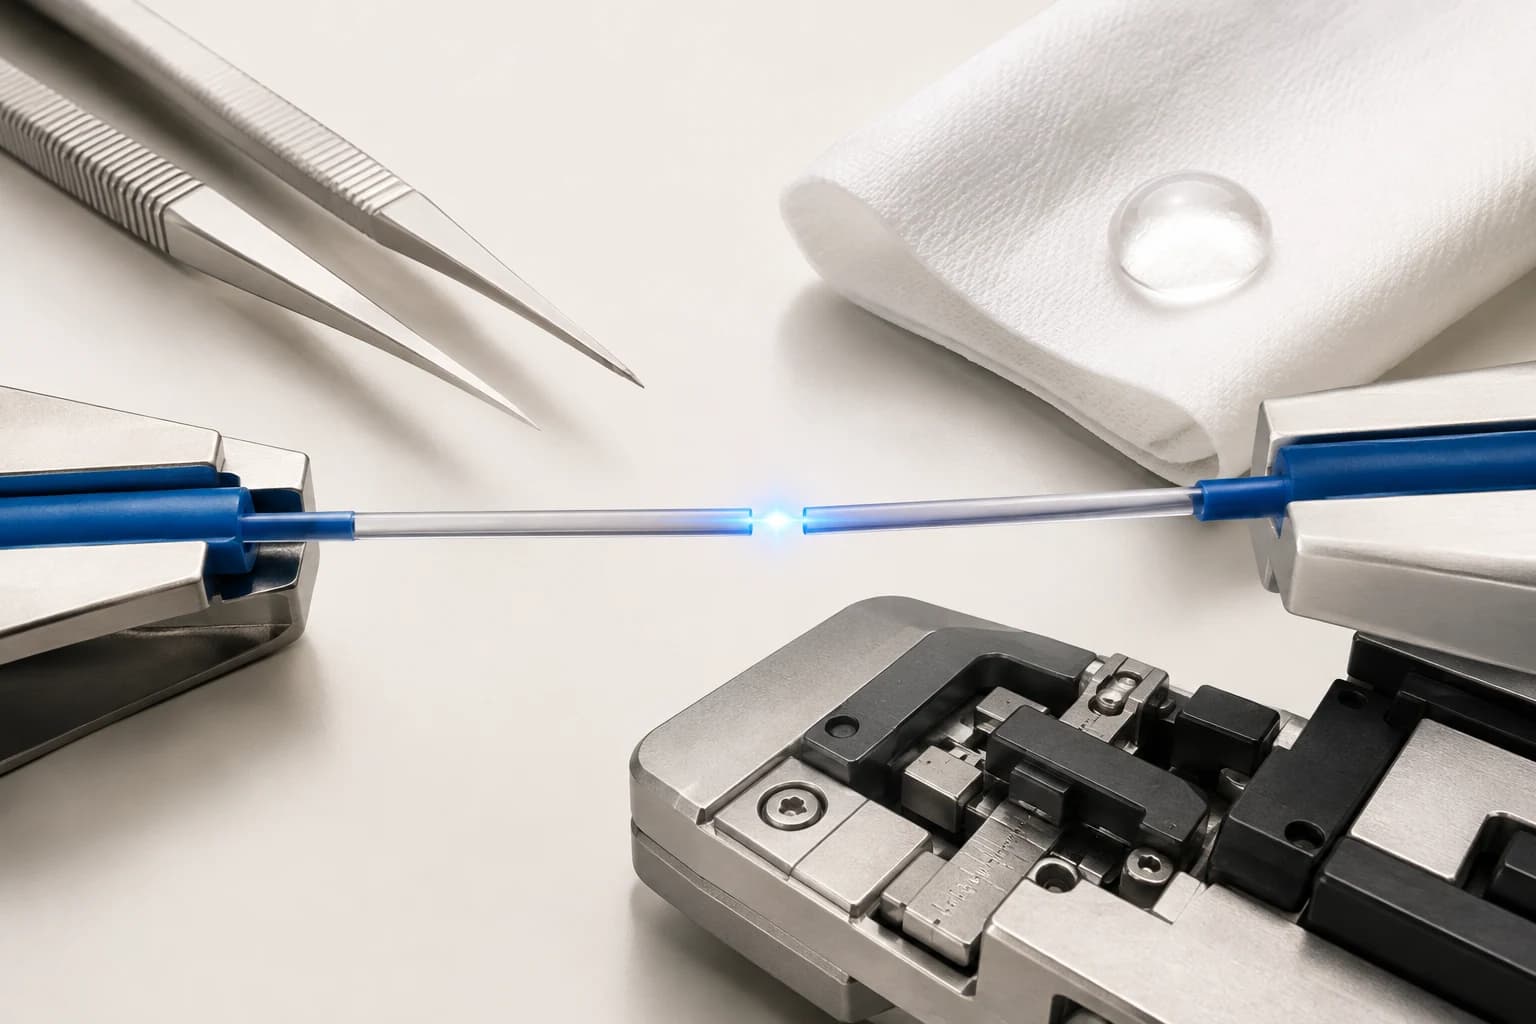
A fusion splicer melts two fiber ends together with an electric arc. The machine does that part reliably. Almost every bad splice traces back to something that happened before the arc fired.
Five steps, and the machine only owns the last one.
1. Strip
Remove the coating to expose bare glass. Two failure modes here.
Stripping too little leaves coating residue that the cleaver and the electrodes both hate. Nicking the glass creates a stress point that may pass inspection and then break weeks later inside the enclosure.
Use the correct stripper slot for the coating diameter, strip in one confident motion, and do not re-grip a fiber you have already scored.
2. Clean
Bare glass picks up oils from skin instantly. Wipe with lint-free wipes and isopropyl alcohol, then do not touch the cleaned section with anything, including the fiber holder if it is dirty.
This is the step people skip when they are behind schedule, and it is the step that shows up in the loss number.
3. Cleave
The cleaver scores the glass and applies tension so it breaks along a clean plane. The goal is an end face perpendicular to the fiber axis.
Cleave angle is the single most influential variable you control. Under 0.5 degrees is good; the splicer will usually warn above 1 degree. A poor cleave produces an angled face, the two cores do not meet flat, and you get loss plus a reflective interface.
Cleaver blades wear. They have a position count and a rotation schedule, and ignoring it is the most common reason a crew's splice quality drifts downward over a week without anyone noticing.
4. Align
The splicer aligns the two fibers. Two approaches you will meet:
- Core alignment — the machine images the actual cores and aligns them directly. More accurate, more expensive.
- Cladding (V-groove) alignment — aligns the outer glass and assumes the core is centred. Cheaper, adequate for well-made fiber.
For access work either can be fine. For tight budgets or dissimilar fiber types, core alignment earns its cost.
5. Fuse
The arc melts and joins. Modern splicers run an automatic program per fiber type. The one thing worth checking: the splicer's fiber-type setting actually matches the fiber in the holders. A G.652 program on G.657 drop fiber will still produce a joint, just not the best one available.
About That Loss Estimate on the Screen
After the splice the machine shows an estimated loss, usually something like 0.02 dB. It is easy to treat that as measurement. It is not.
The splicer estimates loss from the image of the joint. It sees geometry — offset, deformation, bubbles — and infers a number. It cannot see mode-field mismatch between dissimilar fibers, and it cannot see how the joint will behave once it is coiled into a tray.
Which means:
- A splicer reading of 0.01 dB is not proof of a good link.
- The real number comes from an OTDR or an end-to-end insertion loss test.
- A splicer reading that is unexpectedly bad is still useful — it is telling you something is wrong right now, while you can still redo it cheaply.
Treat it as a go/no-go indicator during work, and the OTDR as the record.
Protect and Store
The splice point is bare glass. It needs a protection sleeve, heat-shrunk over the joint, and then it needs to sit in a splice tray without stress.
Two things go wrong here more often than the splice itself:
Sleeve not fully seated — the joint sits at the edge of the sleeve instead of centred, so the strength member does not support it.
Slack forced into the tray — you make a perfect splice and then bend it into a radius the fiber cannot take. The loss you measure afterwards is the tray, not the splice. When a measured splice loss is much worse than the splicer suggested, open the tray and look at the coil before you cut and redo the joint.
Numbers Worth Remembering
표가 넓으면 좌우로 스크롤하여 확인하세요.
| Value | Meaning |
|---|---|
| < 0.1 dB | Good splice, accept |
| 0.1 – 0.3 dB | Marginal. Acceptable in some specs; investigate if repeated |
| > 0.3 dB | Redo it |
| Cleave angle < 0.5° | Target |
| Cleave angle > 1.0° | Recleave |
If several splices in a row land in the marginal band, stop splicing and look at the tooling. It is almost always the cleaver blade or a dirty V-groove, not bad luck.
Summary
- Strip, clean, cleave, align, fuse. The machine owns one of the five.
- Cleave angle is the variable you most control; blade wear silently degrades a whole crew's work.
- The splicer's loss estimate is inferred from an image, not measured. Use it as go/no-go, use an OTDR for the record.
- A bad measured loss after a good splicer reading usually means the tray, not the joint.